All the reasons you should learn how to patch test skincare

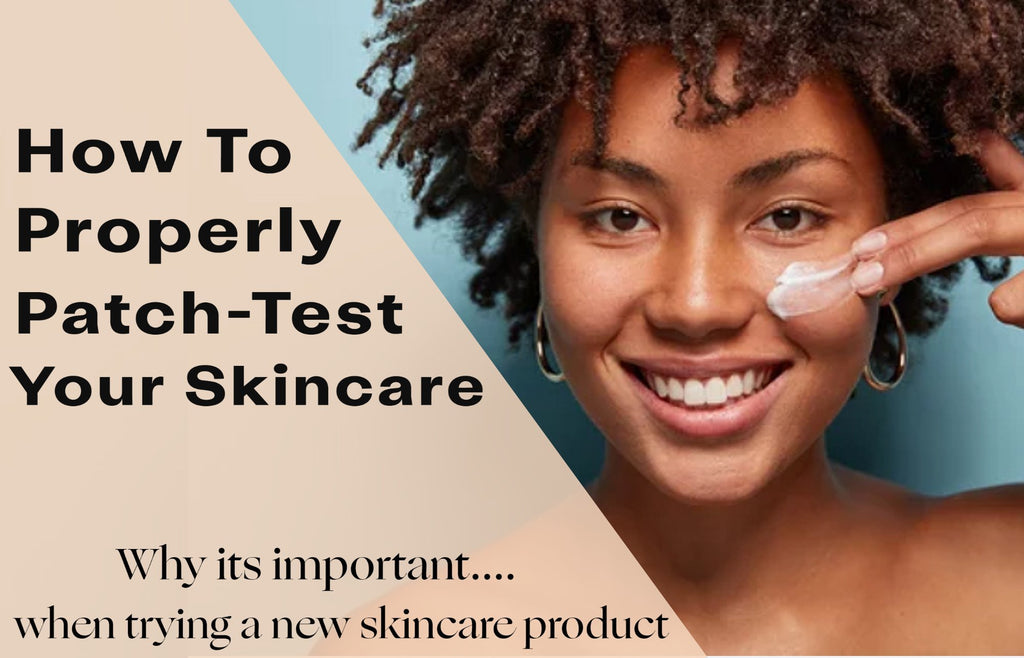
Even with the most natural products, there’s always the risk of allergies. People can be allergic to all kinds of materials and ingredients, whether it’s natural materials like pollen or synthetic materials like certain types of plastic. When you’re using a new skincare product, it’s important to patch test it first to make sure you’re not allergic, because not every product works for every face. Keep reading to learn how to patch test skincare!
What is a Patch Test?

A patch test is a simple way of checking whether your skin will react to new products such as cosmetics, soaps, moisturizers, or topical medications. Patch testing is a common way to check for a variety of allergies. This test is often ignored and can result in acne or allergic reactions, so please remember to patch test a product because not every product works for every face.
How to Patch-Test a Product
Patch testing is simple. Just keep in mind that you’ll need to set a day aside if you want to do your patch test properly. Follow the steps below.
1. Use a Clear Patch of Skin

2. Clean the Application Area First

3. Apply a Small Amount to the Skin

4. Wait 24 Hours

Not All Reactions Are the Same. What to Look For
There are two main things that you are testing for: Irritation and Allergic Reactions. If you’re allergic to the product it should be pretty easy to tell.
These reactions can manifest as a variety of ways—reddening, dryness, itching, peeling, burning, blistering, and swelling. All bad, right? Basically, it's when your products are making your skin worse, rather than better If the skin is red, raised, itchy, or covered with a rash, then it is likely you have a severe allergy to the product.

The first thing to look for is an irritant contact dermatitis, which happens quickly—within minutes to hours of exposure.
The second is an allergic contact dermatitis, which takes repeated exposure to the product and days to develop—at least 4 days.
Keep in mind that you may not be allergic to a product if you’re simply having a reaction to it. And if you’re experiencing a reaction and yet there is no new product in your regimen, it could be a slow-build response. Similarly, you might experience a reaction because of one-off factors.
If you’re not sure, or if you’ve had severe reactions to skincare products in the past. It is always a good idea to talk to your doctor or an allergy specialist.
If you would like to learn more skin care tips and tricks, check out our other blogs!